Your course roster shows you a searchable list of users enrolled in your course. In the Ultra Course View, you can message anyone involved with your course. If allowed by your institution, you can enroll users in your course.
Roster
Use the Roster link on the Course Content page to view your class list, connect with your students, and match faces to names. You can also send messages to anyone involved with your course.
Users can upload a picture of themselves on their Profile pages. If they don't add pictures, a generic silhouette appears in the roster. Users' profile pictures also appear in the gradebook, groups, discussions, conversations, and messages next to their activity. Your profile picture also appears on the Course Content page.
Select a name to view more information. Everyone controls who can access this information in their profile privacy settings.
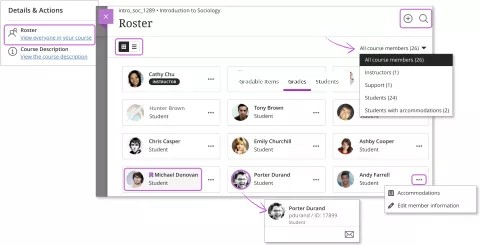
Change your view. You can choose grid view or list view. The roster remains in the selected view until you change it, even if you log out.
- Grid view is sorted automatically by role and then by last name. Roles appear in this order: instructors, teaching assistants, graders, course builders, and students. To manually sort the list, switch to list view.
- List view is sorted by last name by default. Select the Name or Role headings to sort the contents.
Filter your view. You can view the roster by roles, such as instructors or support faculty. The filter options are based on the roles found in your course. You can also filter by Students with accommodations. Students with accommodations appear with an icon next to their names.
Connect from profile cards. Select profile pictures to see basic profile cards and send messages. If more than one student has the same name, names are ordered by student IDs. The profile cards display usernames if allowed by your institution.
Manage users. With the appropriate permissions, you can perform some user management functions from the roster. Point to a person to reveal the More options button to access the menu and change user roles, deny access, add accommodations, or remove a person from your course. People you deny access to appear with a gray profile picture with a diagonal line. To enroll people from the roster, select Enroll People at the top of the page.
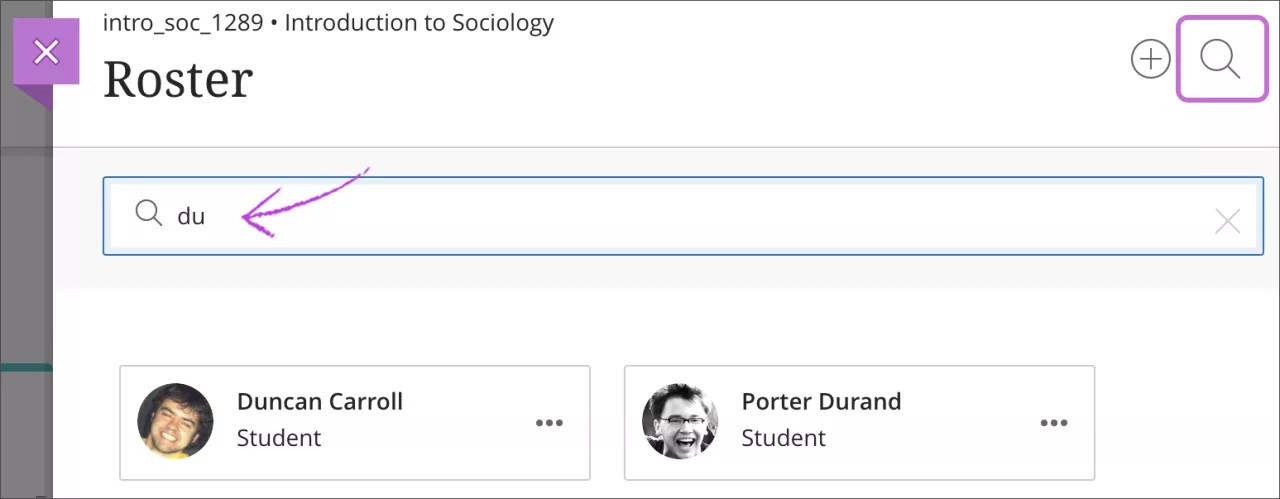
Search the list. In grid or list view, select Search Roster. In the search box, type a name, username, or at least two letters to reveal matches. Any filters previously selected are cleared when you perform a new search.
Additional Information