Course Calendar
The calendar displays a consolidated view of all your institution, course, organization, and personal calendar events. You can view events by day, week or month. Use the course calendar to provide students with dates for course-related events.
Course calendar events appear to all members of the course. You can include items such as upcoming tests, due dates for assignments, or special lectures. Course items with due dates appear automatically in the course calendar. You can manually enter non-graded items, such as tasks, to your course calendar. Only instructors can create course calendar events.
Find and Navigate the Calendar
From the global calendar in the list where your name appears, you can see all your upcoming due dates and meetings across your courses—all in one place.
In your calendar, you can find this information:
- Office hours, course schedule, and events: These appointments appear automatically on the calendar when you add them to a course.
- Due dates: When you create content with a due date, the dates appears automatically in the calendar.
When you access the calendar from inside a course, it shows events for that course only. Select the Calendar tab from the course's navigation bar.
Choose Your View
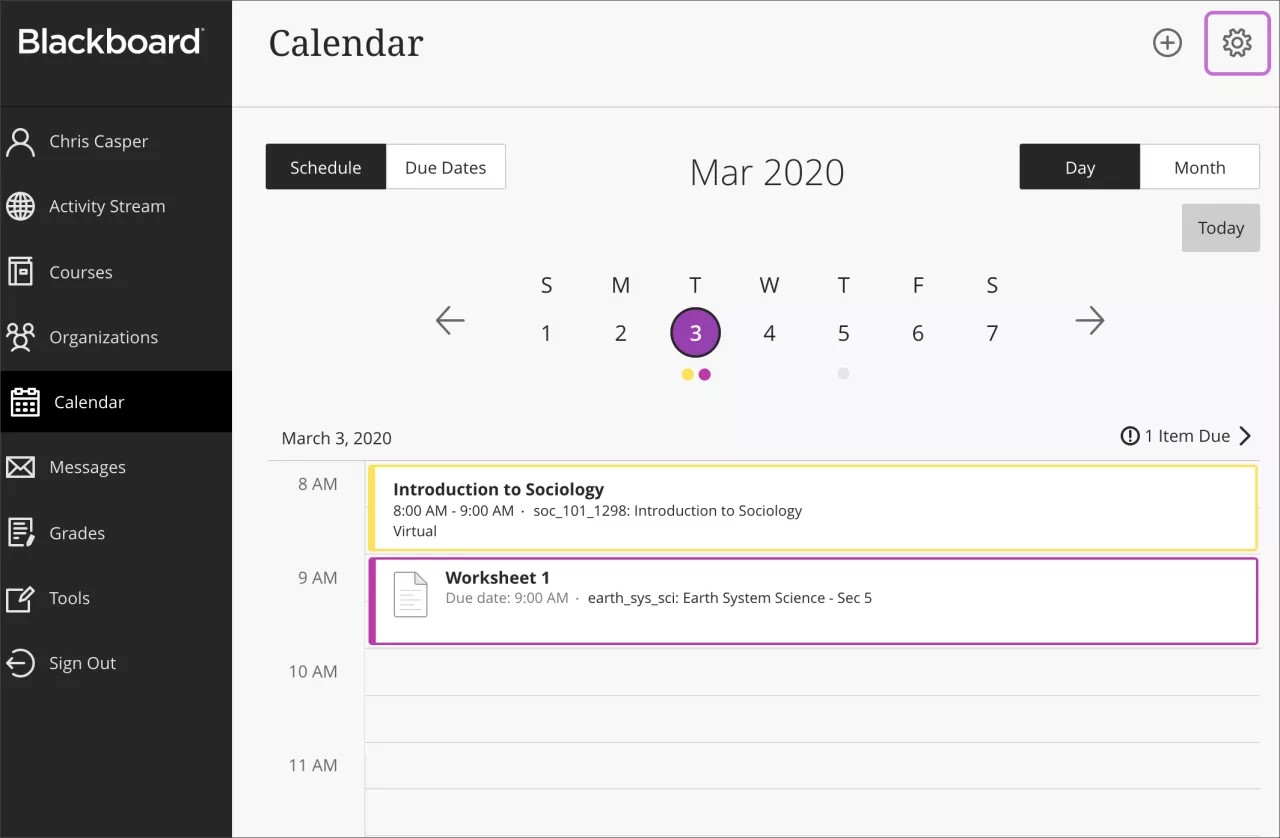
- Select Day or Month to zoom in on one day's tasks or plan for the weeks ahead.
- Select Due Dates to focus only on your upcoming deadlines.
- Select the Calendar Settings button in the upper-right corner to choose the calendars you want to see.
Add or Edit an Event
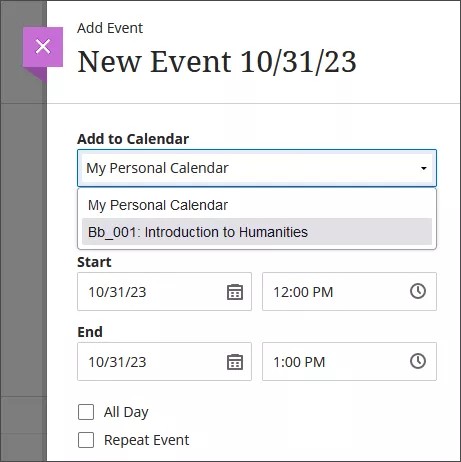
You can add two different kinds of events: events for your personal calendar, and events for your courses. Select the title of any event you've added to change its details.
You can move and delete events in your calendar. Drag and drop events to change times or delete events that you no longer need.
Locations are displayed with the event's time and title on the calendar page. Descriptions are only displayed when you select the event for more details.
Personal calendar events
To add events to your personal calendar, select Calendar from base navigation bar. Select the New Event button, which appears as a plus sign within a circle, and then select Add Event.
Course calendar events
To add events to a course calendar, go to the Calendar tab of the course you want to add an event for. Select the New Event button, which appears as a plus sign within a circle, and then select Add Event. You can also add events directly from the global calendar by selecting that course's calendar from the dropdown menu when you go to add an event.
Students can't delete or move events added by you.
Add or Edit a Course Schedule
You can add a course schedule by selecting Add course schedule under Details & Actions on the course's Content page or by going to the course's Calendar page, selecting the New Event button, and then Add course schedule from the dropdown menu. The course schedule now appears beneath Details & Actions on the Content pages of everyone enrolled in the course.
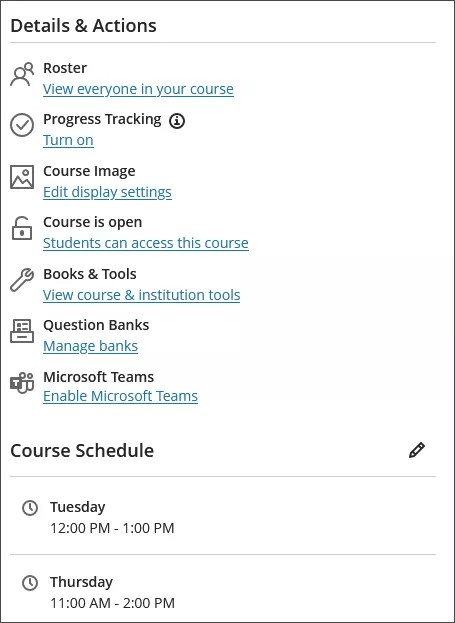
After you've added a schedule, select the pencil button beside Course Schedule on the course's Content page or Edit course schedule from the Calendar page if you want to edit any item on the schedule.
Nickname is a required field. The nickname is the name of the event on people's calendar pages. Location is an optional field.
You must remove all events on the course schedule to remove the course schedule from your course's Details & Actions on the Content page.
Share Your Calendar
Your schedule is a mix of academic and personal commitments. To help keep up with everything you've got going on, you can put everything on one calendar.
You can share your Blackboard Learn calendar with external services so course events appear with other events.
You can't share calendars for individual courses. When you share your calendar, events for all of your courses appear.
- Select Calendar from the base navigation bar.
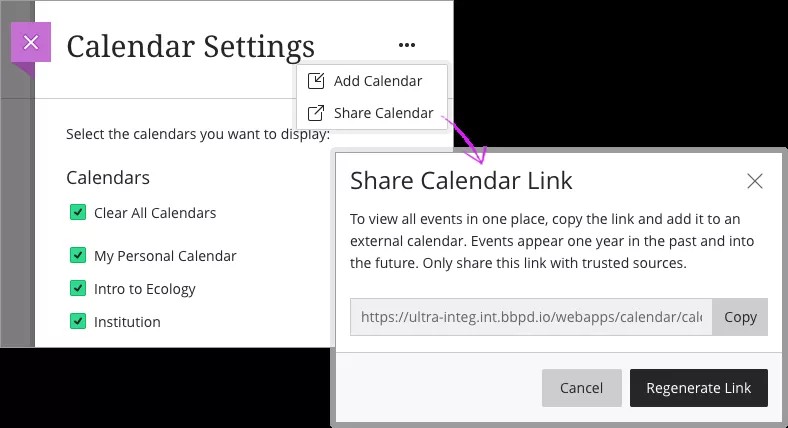
- Select the Calendar Settings button.
- From the Calendar Settings screen, select the dots button and select Share Calendar.
- Copy the calendar link. Share the URL only with trusted sources.
When you connect your Blackboard Learn calendar to an external calendar, all course events appear one year in the past and into the future.
Additional Information